Deer Hide Bag September 09 2023, 0 Comments
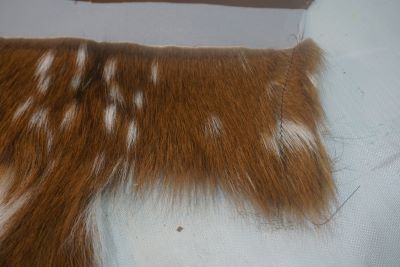
I used the tail of a deer hide as the flap of this handbag.

Cutting the tail:
I started with a different fabric for the base of the bag. I ended up with dark brown pig skin instead of the fabric in the video. I hope the deer and the pig will get along. It was hard to find a color the complimented the hide colors.
Next I decided on the style of the bag. I chose a curved bottom instead of the rectangle in the video. Pattern: All Dunn Designs Le Bag. I enlarged it slightly so it would be the length of the tail.
I lined the flap by tracing around the back side of the deer hide. Cut the lining (satin) and interfacing adding a 1/4" seam allowance.

With right sides together I stitch around the lining and interfacing leaving the top open. Clipped curves (I like to use pinking shears) and turned.

The interfacing turned down the outside edge beautifully.

Stitching the lining on the hide was easy, With wrong sides together I stitched it on the machine. Lining side up.

Brushed the fur out of stitching.

Next I stitched the lining for the bottom putting in the pocket sizes I like. When stitching together lining sides, I left an opening at the bottom for turning.
Inserted tabs with rings at top where I wanted the handles. Added the magnetic snap in the lining (always reinforce under snaps)
Stitched top of bag with flap right side against pig skin (sandwiched between lining and pig skin). Turned the bag right side out through the lining opening.
I made the handle from a gorgeous decorative strap inserting hooks on the end which hooked to the rings. The bag was finished in no time!
Patty Dunn